|
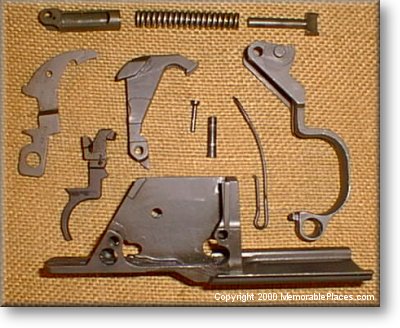
Detail stripping the M1 Garand's
trigger group is actually pretty easy. Here is how
to do it.
The first step is to make sure the
hammer is in the UP or FIRED position. This relieves pressure on the
hammer spring plunger and makes it much easier to
disassemble.
Most of the things
that need doing can be accomplished with a standard
GI Combo Tool.
Next invert the trigger
group and use the combo tool to firmly push the
Trigger Pin out about 1/3 of the way.
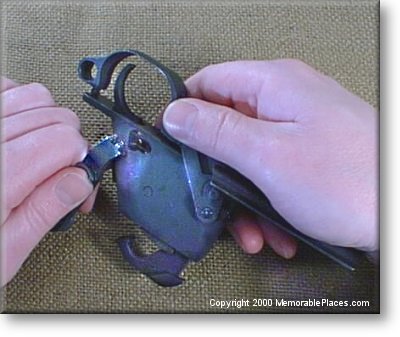
Next turn the trigger
group over and make a backwards 'C' with my right
hand. Apply pressure to the Trigger & Sear assembly
so that the Trigger Pin will slide out freely. This
takes a little practice.
Pull the Trigger Pin
Free.
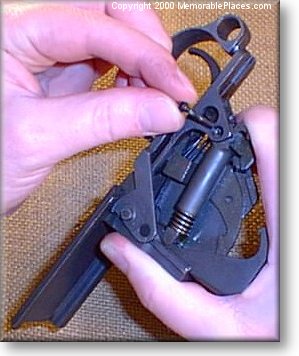
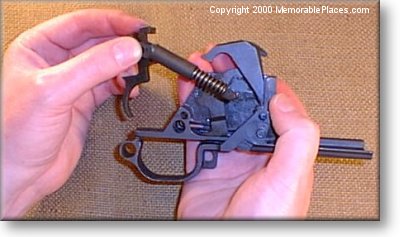
Now remove the Trigger
& Sear Assembly as well as the Hammer Spring
Housing and Plunger Assembly.
To do this simply push
the trigger forward a little and while holding the
Hammer Spring Housing lift the entire group up and
out.
Simply pull those 4
items apart and set them aside.
Now it's Hammer
Time...

|