|
After the operating Rod is in position
(and after making sure the Clip Latch Assembly is
in place) place the Operating Rod Catch Assembly
into position.
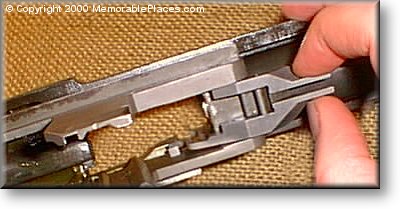
To correctly place
the Operating Rod Catch grab it by the forward edge
and hold it so that the 'dogleg' portion of it extends
down and to the left. Then angle it into the hole
where the cartridges will ride and hook the 'dogleg'
over the top of the protruding part of the Clip
Latch. The photograph below is a good illustration
of the orientation of the Clip Latch and the Operating
Rod Catch.
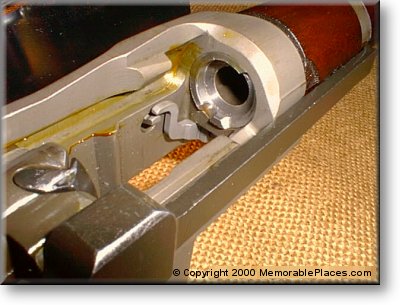
The Bullet Guide is
inserted next.
It is important that
the pointed tip of the Bullet Guide be inserted
underneath the accelerator of the operating Rod
Catch. This is easy enough to accomplish by simply
holding the Operating Rod Catch in place while using
the tip of the forefinger to angle the accelerator
skyward while at the same time sliding the bullet
guide underneath.

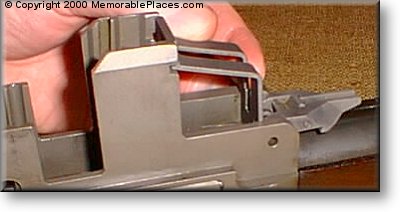
When the Bullet Guide
is properly oriented with the Operating Rod Catch
and the Accelerator - firmly press The bottom rear
of the Bullet Guide into the notches cut into the
receiver legs until the guide snaps into position.
If done correctly the assembly is flush on all three
sides as shown below.
The Slide and Follower
Assembly go in next.
Next Page

|