|
The next step is to insert the Slide
& Follower Assembly. Before actually placing
this assembly lightly grease the grooves that the
follower rides in.
It is possible to put
the Follower Assembly in incorrectly. The proper
orientation s shown below.
Before placing the
assembly confirm that the bolt is fully forward
and I simply drop the assembly in while making sure
that the guides on the sides of the assembly are
squarely in the groves on the receiver.

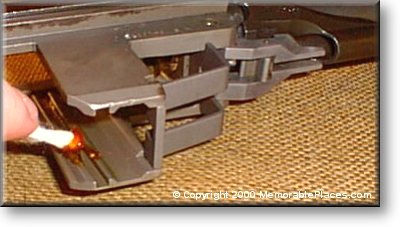
Once the Slide and
Follower Assembly are in place, only one more part
needs to be put in place before pinning these parts
together. That part is the Follower Arm.
Note the orientation
of the Follower Arm below. This is the correct orientation.
Be aware that the rear part of the Follower Arm
threads through the Bullet Guide. The two holes
in the front of the Follower Arm will nestle down
beside the tip end of the Bullet Guide just behind
where the guide contacts the Accelerator.
When finally positioned
the holes from the Bullet Guide, The Operating Rod
Catch, the Follower Rod, and the Holes in the Receiver
will all line up perfectly.
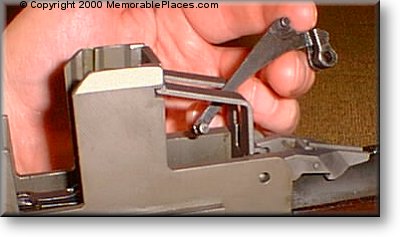
As we lower the Follower
Arm into position we must also insert the tail end
of it into the Follower Assembly. WeI do this by
lifting the Follower Assembly about half way up
and sliding the Follower Arm into the groves cut
in the Follower as shown below.
Now it is time
to pin it all together.
Next Page

|