|
When you have removed the ejector and ejector
spring you then remove the Extractor Spring and
the Extractor Spring Plunger.
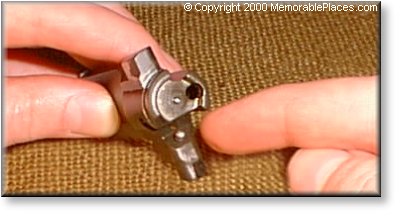
The Extractor Spring and the Extractor Spring
Plunger are connected together and sit in a small
hole at the bottom of the area of the bolt that
houses the extractor. You can see the Extractor
Spring and the Extractor Spring Plunger in the above
photo at about 5 o'clock in the photograph or 9
o'clock on the bolt.
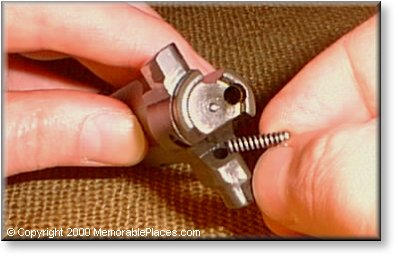
The extractor spring and extractor spring
plunger can simply be lifted out using your fingers
(if they are small enough) or the point of a knife.
We do not generally separate the spring and
the plunger from one another. These are the smallest
parts on the M1 anyway and there's no use in losing
them or separating the two unless we plan on replacing
one of them.
Once the Ejector and Extractor assemblies
are removed only one final step in detail stripping
the bolt remains.
That is the removal of the firing pin.
Next Page

|